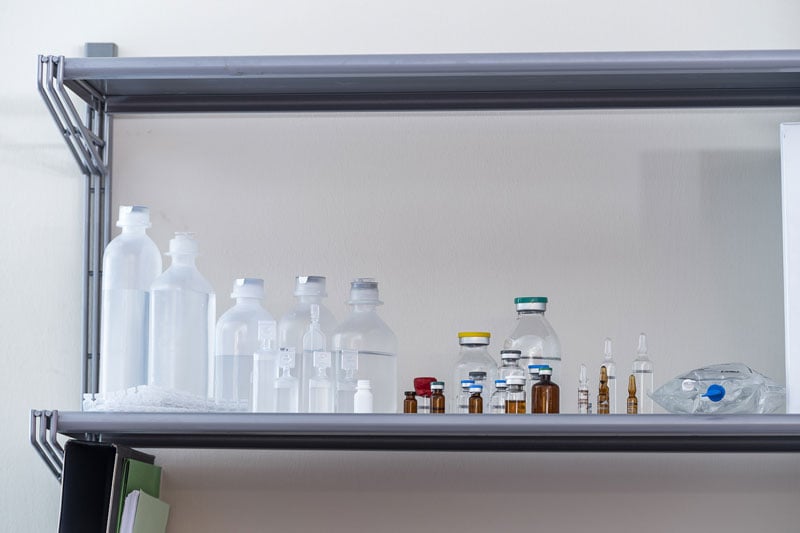
Vacuum Decay Method technology allows testing that identifies the presence of leaks in hermetically sealed containers in a non-destructive and non-invasive manner. It can be used to test plastic, glass or metal containers - making it effective both for pharmaceutical and food & beverage industries - and rigid or flexible packaging.
According to the reference standard (American Standard Testing method ASTM F2338 – “Standard Test Method for Non-destructive Detection of Leaks in Packages”), this technology can be used to test:
- Ophthalmic bottles with dropper, containing liquid
- Glass or plastic vials or ampoules containing liquid
- Glass or plastic bottles with elastomer closure, containing liquid
- Closed (non-porous) containers containing liquid
- Bottles with threaded screw closure, containing liquid
- Flexible containers (e.g. IV bags)
Vacuum Decay Method: How it works
The Vacuum Decay Method (VDM) uses a vacuum to detect leaks in the product being tested.
The product is placed inside a vacuum chamber and two pressure value readings are taken after a time interval, following pressure stabilization. If the difference between these two values is greater than the physiological threshold determined during machine setting, the container has a leak and therefore does not comply with the standard. If the value meets expectations, the product is properly sealed and can continue on its way out of the factory.
The test detects both micro-holes and larger holes, which are responsible for macro-leaks. In the second case, the damaged product is identified right from the first pressure value reading. If the first measurement returns a lower value than expected, the container certainly has a significant leak, and is discarded without even undergoing the second measurement.

VDM sensitivity and validation
VDM sensitivity is verified by introducing a given volumetric airflow into the test chamber containing a sealed container. The machine’s sensitivity is equal to the minimum air flow rate causing the machine to identify the sample as non-compliant. Therefore, the machine’s sensitivity is not defined in absolute terms, but in relation to the characteristics of the product being tested: if the product format changes, the sensitivity also varies accordingly, so it will have to be verified again using the new test specifications.
Tests performed by Bonfiglioli Engineering machines using the VDM are validated using calibrated leaks. In the validation procedure, an air flow with a known flow rate is introduced into the test chamber through a calibrated leaker containing a ceramic capillary tube. The air introduced causes a variation in the pressure inside the test chamber equal to that which occurs when there is a hole of a certain size in the container to be tested. If this change in the pressure level causes the product to be identified as non-compliant, the method is validated.
This highly effective and easy-to-perform validation procedure offers countless advantages:
- It is accepted and recommended by regulations
- It is reliable in measuring vacuum changes
- It is performed with certified leakers guaranteed by Bonfiglioli Engineering
- It is reliable to validate tests on different containers, regardless of their fill level
- It can be done automatically by the machine during warming, or manually by an operator
- The results are easy to verify
- The leaker can be connected to more than one test chamber
- In the event of breakage or replacement, the leakers are replaced directly by Bonfiglioli Engineering
- The leakers are calibrated directly by Bonfiglioli Engineering

